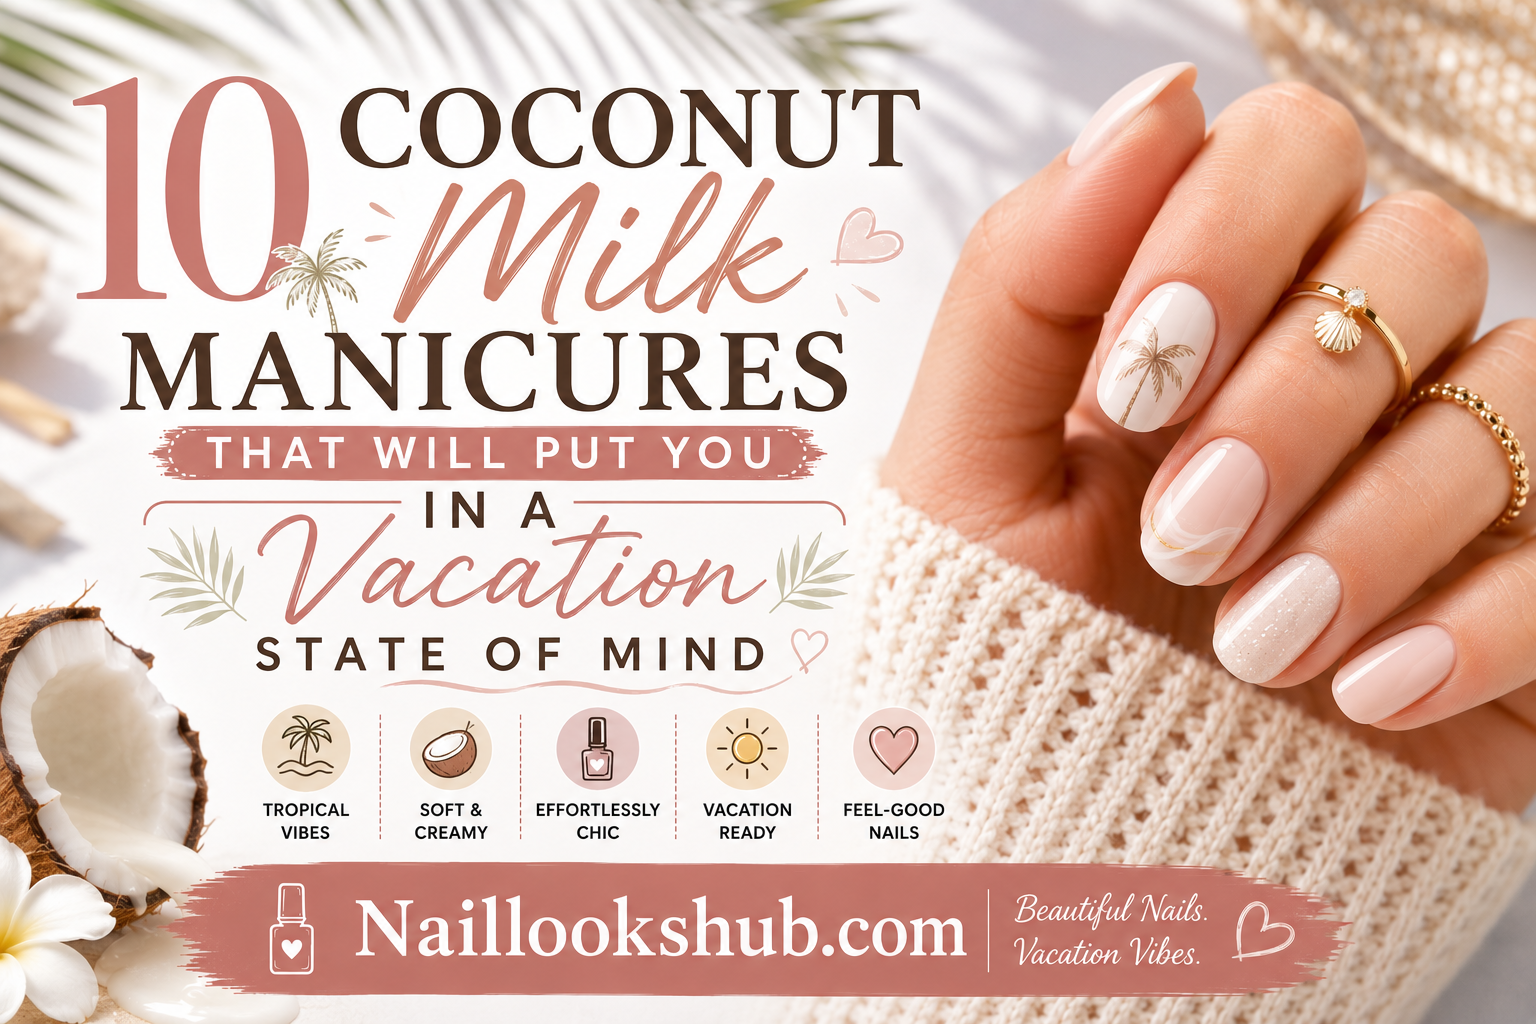
Close your eyes for a second. Picture warm sand between your toes, a cold drink sweating in your hand, and that soft island breeze carrying the scent of coconut everywhere you turn. Now open your eyes and look down at your nails. Do they match that daydream? If not, it’s time for an upgrade.
Coconut milk manicures are having a real moment in 2026, and honestly, it makes sense. The trend blends the creamy, dreamy tones of coconut milk 🥛 with tropical inspired nail art, soft pearlescent finishes, and beachy textures that instantly transport you somewhere warmer. Whether you’re actually jetting off to Bali or just trying to survive another gray week at your desk, these nail looks are the easiest (and cheapest) way to fake a vacation glow.
Below, we’re breaking down ten coconut milk manicure ideas that nail artists and beauty lovers are obsessing over right now. We’ll cover the colors, the techniques, and a few pro tips so you can recreate any of these looks at home or bring a photo straight to your nail tech. Let’s dive in 🌴
Why Coconut Milk Nails Are Trending Right Now 📈
Before we get into the list, let’s talk about why this trend exploded. Coconut milk manicures sit at the intersection of two huge beauty movements: the “clean girl” aesthetic and tropical maximalism. The base shade, a warm, milky off white with a hint of cream, works as a neutral canvas that flatters every skin tone. It’s soft enough to wear to the office yet has just enough glow to feel like a mini vacation for your hands.
On top of that, coconut milk tones photograph beautifully. Under sunlight or ring light, the sheer creamy finish catches light in a way that stark white polish simply can’t. That’s a big reason this look is all over Instagram and TikTok right now, with the hashtag racking up millions of views from people showing off their summer manicures.
Here’s a quick snapshot of what makes this trend so popular:
| Reason It’s Trending 🌟 | Why It Works |
|---|---|
| Skin tone flattering | Warm undertones complement most complexions |
| Low maintenance | Grows out softly without harsh regrowth lines |
| Versatile | Works for weddings, vacations, or everyday wear |
| Photogenic | Reflects light beautifully in photos and videos |
| Easy to DIY | Simple base color, easy to layer designs on top |
Now let’s get into the actual designs.
1. Classic Coconut Cream Base 🤍
This is where every coconut milk manicure starts. Think of it as your blank canvas. The shade is a warm, milky white with just a touch of beige mixed in, nothing like the stark, clinical white you might be picturing. It’s soft, it’s subtle, and it works whether your nails are short and square or long and almond shaped.
How to get the look:
- Start with a clear base coat to protect your natural nail.
- Apply two thin coats of a cream white polish with warm undertones (look for shades labeled “milk,” “cream,” or “coconut” at the store).
- Seal with a glossy top coat for that dewy, hydrated finish.
Pro tip: if you want extra dimension, add a single sheer coat of a pale beige over the white base. It softens the color even further and gives it that “melted coconut milk” look everyone’s after.
2. Piña Colada Swirl 🍍
If the classic base is your blank canvas, this one is your art piece. Piña colada swirls combine coconut milk white with soft pineapple yellow in a marbled, swirled pattern that mimics the actual drink. It’s playful, it’s fun, and it screams tropical vacation the second you see it.
To create the swirl effect at home, drop small dots of yellow polish onto a wet white base, then use a thin nail art brush or a toothpick to gently drag through the dots in a swirling motion. Don’t overdo it. A few graceful swirls look far more elegant than a busy, overworked pattern. Finish with a high shine top coat to really make those colors pop 🍹
3. Sun Kissed French Tips ☀️
The French manicure isn’t going anywhere, but the coconut milk version gives it a whole new personality. Instead of the traditional stark white tip on a sheer pink base, this look flips things around with a coconut cream base and a soft golden or bronze tip that mimics a sun kissed glow.
This design is a favorite among nail techs because it’s flattering on literally everyone and it grows out gracefully. As your nails grow, the tip line simply moves up with you, so you get a few extra weeks of wear before you need a touch up.
Quick tip breakdown:
| Layer | Color | Purpose |
|---|---|---|
| Base | Coconut milk white | Warm neutral canvas |
| Tip | Golden bronze | Sun kissed contrast |
| Top coat | Glossy | Locks in shine and glow |
4. Tropical Fruit Accent Nail 🥭
Sometimes you don’t want a full design on every nail, and that’s where the accent nail comes in. This look keeps nine nails in the classic coconut cream shade and turns just one nail (usually the ring finger) into a mini piece of art featuring mango slices, pineapple chunks, or tiny watermelon wedges.
It’s an easy way to dip your toes into nail art without committing to a full set of intricate designs. Plus, it photographs incredibly well because the eye is naturally drawn to that one detailed nail while the rest stay soft and clean.
If you’re not confident freehanding fruit shapes, plenty of nail art decals and stickers now come pre made in tropical fruit designs. Just apply over your dried coconut milk base and seal with top coat.
5. Coconut Shell Chrome 🐚
This one takes the trend in a slightly different direction by adding a metallic, shimmering effect on top of the milky base. Chrome powder in soft champagne or pearl tones is buffed over the coconut cream polish, creating a finish that genuinely looks like the inside of a coconut shell catching sunlight.
Chrome finishes can be tricky to apply evenly, so here’s a simple approach:
- Apply your coconut milk base and let it fully dry.
- Apply a no wipe gel top coat and cure if using gel, or let air dry if using regular polish designed for chrome application.
- Use a small sponge applicator to gently press chrome powder onto the nail in circular motions.
- Buff away excess powder with a soft brush.
- Seal with a matte or gloss top coat depending on your preference.
The result is genuinely stunning under any lighting and feels a little more elevated than a standard manicure, perfect for a wedding or a fancy dinner on your trip 🐚✨
6. Palm Leaf Silhouettes 🌿
For those who love a bit of nature inspired nail art, palm leaf silhouettes are an easy win. On a coconut milk base, one or two nails get a delicate dark green palm frond painted on using a thin detail brush. The contrast between the warm creamy background and the deep green leaf is striking without being loud.
This design works especially well paired with gold foil accents. Adding tiny flecks of gold foil near the base of the palm leaf gives the whole look a little extra glimmer, like sunlight filtering through actual palm trees.
Nail artists recommend keeping this design to just one or two accent nails rather than all ten. It keeps the overall look sophisticated instead of overwhelming.
7. Coconut Milk Ombre 🎨
Ombre nails have been a beauty staple for years, and the coconut milk version softens the whole concept even further. Instead of a bold color fade, this design blends coconut cream at the cuticle into a soft blush pink or pale coral at the tip, mimicking the gradient you’d see in a real piña colada as it settles in the glass.
How to achieve a smooth ombre:
- Apply your coconut milk base color and let dry completely.
- Using a makeup sponge, dab a small amount of your second color (blush or coral) onto the tip area only.
- Gently press the sponge onto the nail in a rolling motion, working from the tip toward the middle to blend the two shades.
- Clean up any excess color around the cuticle with a small brush dipped in polish remover.
- Seal with a glossy top coat.
This technique takes a little practice, but once you get the hang of it, it becomes one of the fastest ways to elevate a simple manicure into something that looks salon done.
8. Sandy Beach Texture 🏖️
Texture is a big part of what makes tropical nail art feel authentic, and this design brings actual grainy texture to your nails using fine glitter or texture powder in soft sandy tones. Applied over a coconut milk base, it genuinely mimics the look of wet sand right at the water’s edge.
This look is especially popular for toenails during summer, since it pairs beautifully with sandals and gives off major beach day energy even if you’re nowhere near an ocean. Layer a thin coat of textured polish over your dried base, let it set, then decide whether you want to seal it with a matte top coat (for a true sand like finish) or a glossy one (for a wet sand look).
9. Hibiscus Flower Accent 🌺
Few things say tropical vacation quite like a hibiscus flower, and this manicure brings that iconic bloom right onto your nails. On a coconut milk base, a single accent nail features a hand painted or decal style hibiscus flower in coral, pink, or red, often paired with a tiny green leaf detail.
This design pairs beautifully with the sun kissed French tip look mentioned earlier. Many people combine the two, doing sun kissed tips on eight nails and a hibiscus accent on the remaining two for a manicure that feels intentional and cohesive rather than random.
Here’s a simple comparison of accent nail options if you’re trying to choose one:
| Accent Style | Vibe | Best Paired With |
|---|---|---|
| Tropical fruit | Playful, fun | Classic coconut base |
| Palm leaf | Sophisticated, minimal | Ombre or chrome |
| Hibiscus flower | Romantic, vibrant | Sun kissed tips |
| Sandy texture | Beachy, tactile | Solid coconut base |
10. Milky Marble Swirl 🌊
Rounding out the list is a design that feels almost like abstract art. Milky marble swirl nails combine coconut cream white with soft caramel and pale gray in a delicate marbled pattern that resembles the surface of actual coconut milk when it’s gently stirred.
This look is created using a water marbling technique or a simple dotting and dragging method similar to the piña colada swirl. The key is to use complementary warm tones so the finished look feels cohesive rather than muddy. Keep the color palette to just two or three shades max for the cleanest result.
Because this design is more subtle than some of the others on this list, it works well for people who want something a little more office appropriate while still capturing that vacation state of mind.
How to Make Your Coconut Milk Manicure Last Longer ⏳
Getting a gorgeous manicure is only half the battle. Here are a few tips to help these tropical looks last as long as possible:
- Always use a base coat. It protects your natural nail and helps polish adhere better, meaning less chipping.
- Cap the free edge. When applying polish, swipe a small amount over the very tip of the nail. This seals the edge and prevents peeling from the tip inward.
- Moisturize your cuticles daily. Dry cuticles lead to lifting polish. A drop of cuticle oil each night keeps everything looking fresh.
- Avoid hot water for the first hour. Give your polish time to fully harden before washing dishes or taking a hot shower.
- Reapply top coat weekly. A fresh layer of glossy top coat every five to seven days can add real time to your manicure’s life.
Choosing the Right Shade of Coconut Milk White 🥥
Not all “coconut milk” polishes are created equal, and picking the wrong undertone can throw off the entire look. Cooler skin tones tend to look best with coconut milk shades that lean slightly gray or pink, while warmer skin tones usually glow with versions that lean beige or golden. If you’re shopping in person, always swatch the color against your actual nail bed rather than judging it from the bottle, since lighting and skin tone change how a polish reads.
If you’re unsure where to start, ask your nail tech to mix a custom coconut milk shade using a bit of white and a touch of nude polish. Many salons are happy to do this, and it guarantees a shade tailored specifically to you.
Frequently Asked Questions ❓
Is a coconut milk manicure the same as a milky white manicure? They’re closely related, but coconut milk shades typically have warmer undertones compared to a stark, cool toned milky white. The warmth is what gives it that tropical, sun kissed feeling.
Can I do these designs with gel polish? Absolutely. Most of these looks translate beautifully to gel, and gel tends to hold designs like ombre and chrome even better than regular polish since it cures fully and resists smudging during the design process.
Which design is easiest for beginners? The classic coconut cream base and the sun kissed French tips are the most beginner friendly. Both require minimal freehand skill and still look incredibly polished.
Do these looks work on short nails? Yes, every single design on this list works beautifully on short nails. In fact, subtle looks like the classic base or milky marble swirl often look even more elegant on a shorter, rounded nail shape.
Final Thoughts 🌴🥥
There’s something genuinely mood lifting about a manicure that reminds you of sunshine, warm sand, and a cold drink with a little umbrella in it. Coconut milk manicures manage to capture that vacation feeling in a way that’s still wearable for everyday life, whether you’re heading to the office, a wedding, or an actual beach.
The beauty of this trend is how flexible it is. You can keep things simple with a classic coconut cream base, or go all in with swirls, chrome, and hand painted florals. However you choose to wear it, one thing’s for sure: your hands are about to look like they just got back from a tropical getaway, even if the closest you’ve been to a beach lately is your bathtub.
So the next time you’re sitting in the nail chair, or reaching for the polish at home, give one of these ten coconut milk manicures a try. Your vacation state of mind is just a few coats away 🏝️💅